Changing a live site can feel like replacing a tire while the car is moving. One bad plugin update, CSS tweak, or PHP error can take pages down fast. That’s why wordpress staging sites matter.
A staging site is a private copy of your live site. You use it to test updates, redesigns, code, forms, and checkout flows before real visitors see the changes. In 2026, the safest path is still simple: use your host’s staging tool if you have it, use a staging plugin if you don’t, and go manual only when you need full control.
Pick the right staging method first
If your host offers one-click staging, start there. It’s usually faster, more stable, and easier to push back to production. Many managed hosts now include it, and current managed WordPress hosting guides regularly highlight staging as a standard feature. Common examples in 2026 include WP Engine, SiteGround, Bluehost, and WordPress.com’s higher plans.
Staging is not the same as a backup. A backup plugin helps you roll back after trouble. Staging helps you catch trouble before launch. You want both.
This quick comparison makes the choice easier:
| Method | Best for | Good points | Watch out for |
|---|---|---|---|
| Host-based staging | Most site owners | One-click clone, safer push to live | May be missing on cheaper plans |
| Plugin-based staging | Shared hosting or mixed setups | Easy to start, flexible | Free plans may not push changes back |
| Manual staging | Developers and agencies | Full control over files and database | More setup, more room for mistakes |
If you’re new, don’t overthink it. Host-based staging is like training wheels that actually help. A manual clone is more like building the bike first. Also, some platforms now offer selective sync, so you can push only chosen files or database tables instead of the whole site.
How to create a staging site with your host or a plugin
Use your host’s built-in staging tool
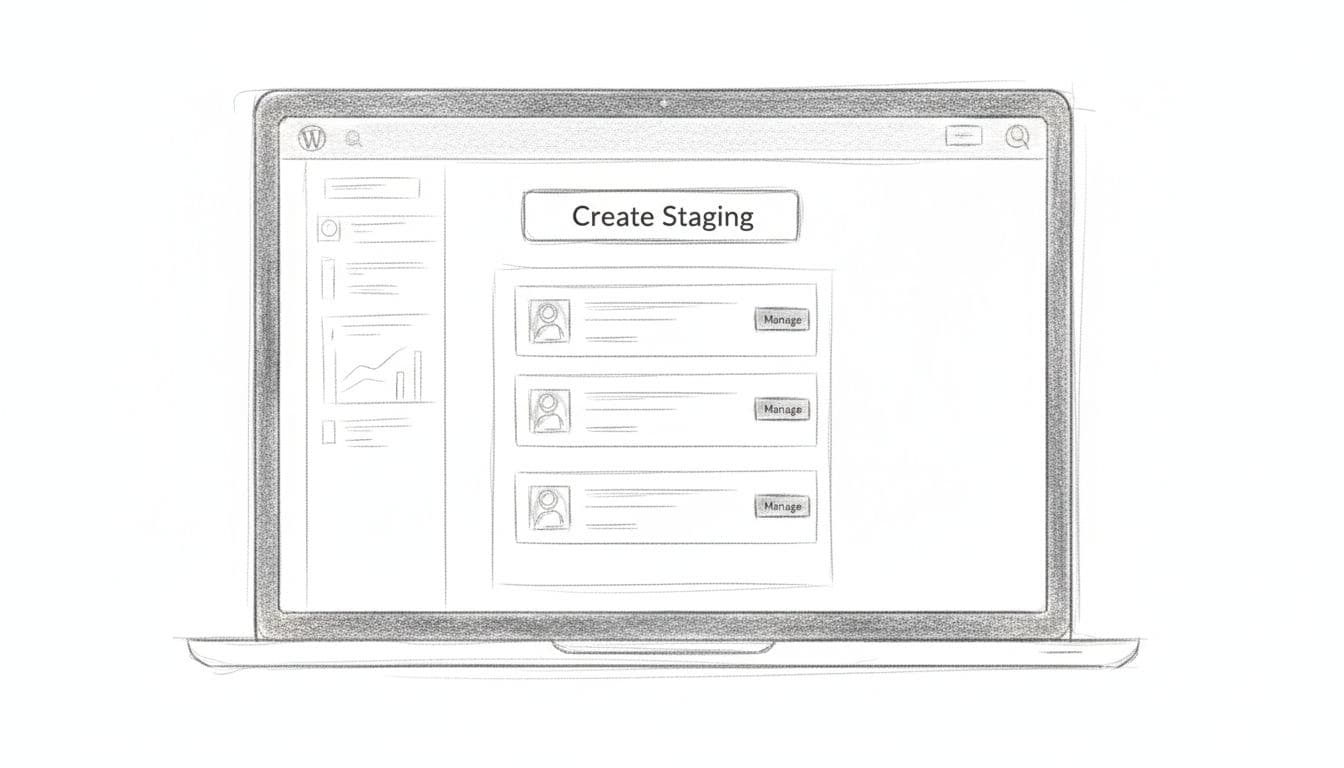
Most dashboards follow the same pattern. Open your hosting panel, choose your site, and look for “Staging” or “Clone.” Create the copy, wait for the process to finish, then log in to the staging URL. Hosts usually copy the database, uploads, theme files, and plugin settings in one pass.
- Back up the live site first, even if your host already creates snapshots.
- Name the staging copy clearly, such as staging.yoursite.com.
- Password-protect it and block search engines.
- Switch risky tools to test mode, especially email and payments.
Once it’s ready, treat the staging copy like a workbench. Update plugins, switch themes, test block patterns, or try custom code there first. Then, when you’re happy, use the host’s push tool to move changes over.
Use a staging plugin when hosting doesn’t include it
If your plan lacks staging, a plugin is the next best choice. WP STAGING remains a strong pick in 2026 because it’s simple to clone and reliable for basic testing. Other teams prefer off-server tools like BlogVault or quick sandboxes such as InstaWP. If you want a wider look at the trade-offs, this staging plugin comparison is worth a read.
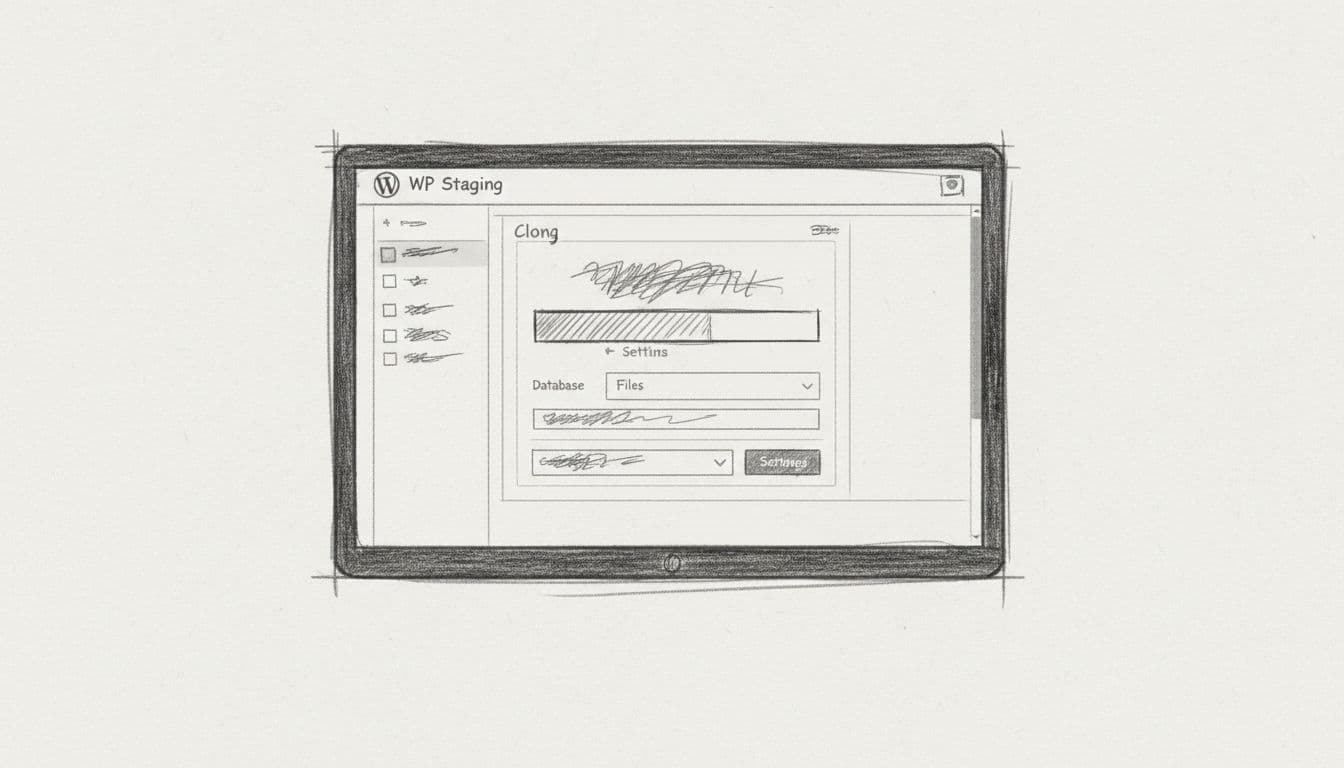
After you install the plugin, create a new clone, pick a name, and let it copy your files and database. Free versions often work well for testing. Paid plans matter when you want push-to-live, selective table sync, or WooCommerce-safe deployment. If your site is large, off-server staging can also be faster because it doesn’t strain your own hosting account.
Manual staging still has a place, but it’s best for people comfortable with subdomains, database exports, wp-config.php, and search-replace tasks. For most site owners, hosting or plugin staging gets the job done with far less risk.
Best practices, common mistakes, and quick fixes
A staging site should stay private and disposable. If Google indexes it, or customers land on it, the copy becomes a problem instead of a safety net. Set noindex rules, add password protection, and avoid public links.
Never send real customer traffic to staging, and never treat staging as a backup archive.
Also, stop outgoing email if possible. You don’t want test orders, password resets, or contact form messages reaching real people. Switch payment gateways to sandbox mode before you test checkout. Keep staging short-lived, too. The older the clone, the less it matches live reality, so refresh it before a large round of changes.
One of the most common mistakes is pushing a full database from staging to live after the live site has new orders, comments, bookings, or form entries. That can wipe out fresh data. Another is forgetting to clear cache layers, which makes a finished fix look broken. A lot of common WordPress development mistakes trace back to those workflow slips.
If something breaks, start small. Clear WordPress cache, server cache, and CDN cache. Re-save permalinks if pages return 404 errors. If login loops appear, clear cookies and disable security or caching plugins one at a time. Mixed URLs after cloning usually mean you need a proper search-replace for the old domain. Also test on mobile and logged-out views, not just inside the admin.
How to push staging changes to production safely
When it’s time to go live, slow beats sorry. A clean push is less about speed and more about what moves, and what stays put.
Use this checklist before you deploy:
- Take a fresh backup of the live site and database.
- Review the change scope, files only, database only, or both.
- Pause risky activity if possible, especially on stores or membership sites.
- Use selective sync for WooCommerce, bookings, or active communities, so you don’t overwrite live orders or user data.
- Test the live site right after the push, including forms, search, menus, login, and mobile layouts.
- Monitor logs and analytics for the next hour, so you catch errors fast.
For business sites, push during a quiet traffic window and tell your team when the update starts. If your tool offers full push and selective push, choose selective whenever live data changed after the clone was created. That rule alone saves a lot of pain. For a broader look at current staging environment methods, compare the push options before you settle on a workflow.
Final thoughts
A staging site gives you room to make mistakes before visitors ever notice. Start with your host’s built-in tool, use a plugin when needed, and push changes with care. Build that habit now, and wordpress staging sites will turn risky updates into routine work.
Leave a Reply